How to Install a Script Using the Applications Installer
How to Install a Script Using the Applications Installer
The Applications Installer allows you to install over 50 applications with just a few clicks, saving you time and effort. Follow this step-by-step guide to get your script installed effortlessly.

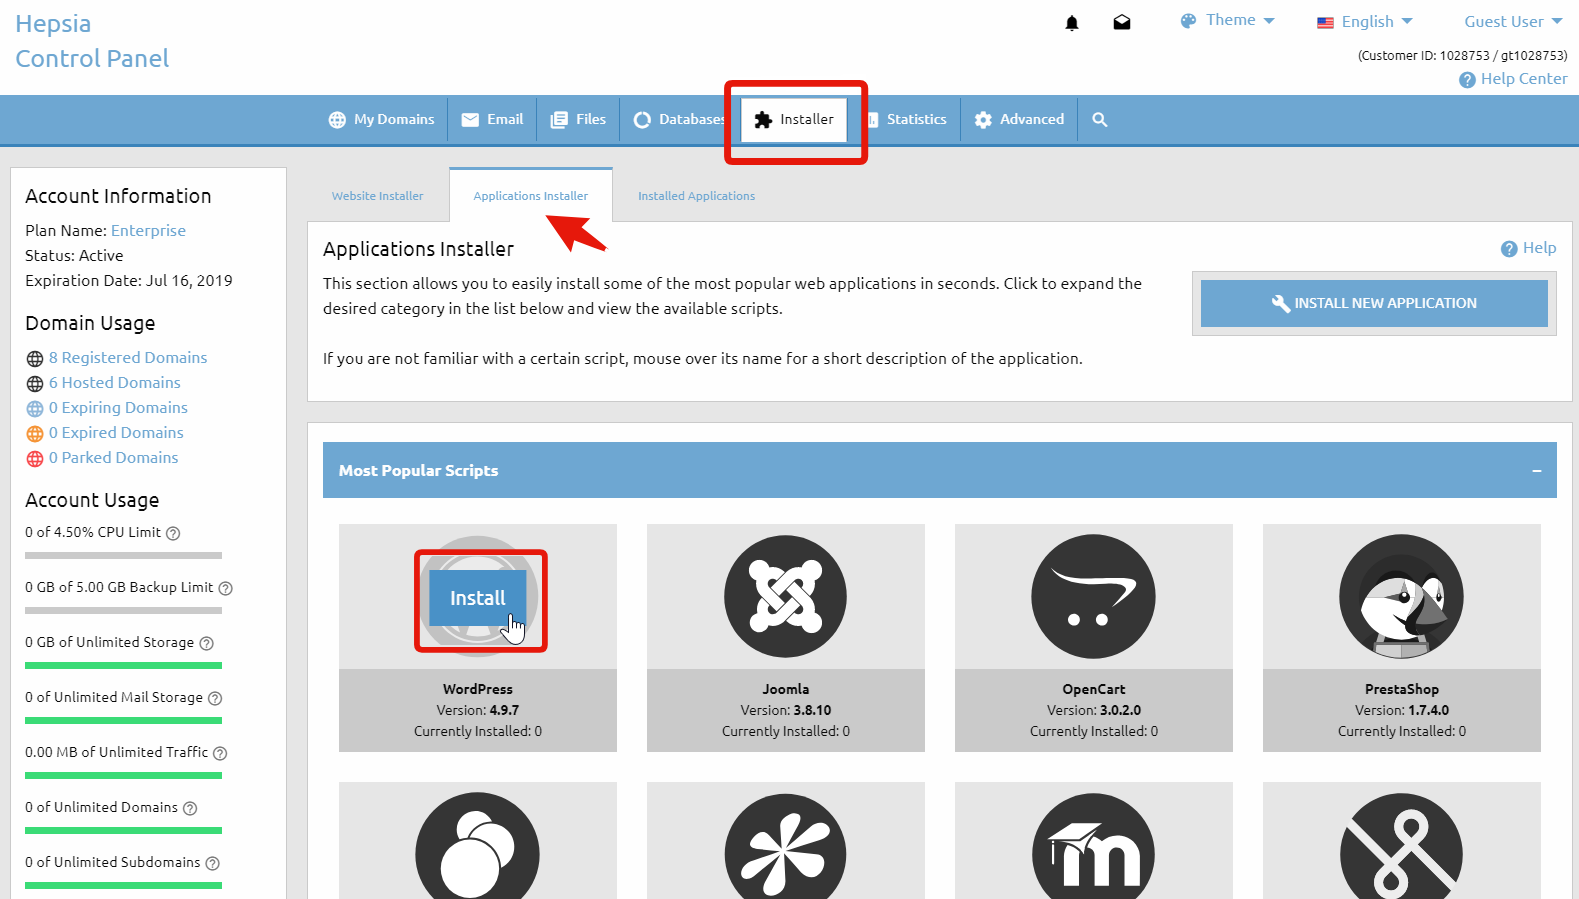
Step 1: Access the Applications Installer
Log into your Control Panel and navigate to the Applications Installer section. Here, you'll find a range of categorized applications such as Content Management, Blogs, and Discussion Boards.
Step 2: Select and Install the Script
Hover over the desired application to view details like the version and installation history. Once you’ve chosen a script, click to proceed.
- Choose your Domain.
- Select the Path for installation (e.g., "/forum").
- Enter Admin User details and set your Admin Password.
- Set your Admin Email and Weblog Title.
- Pick a Database (create a new one or select an existing one).
Step 3: Finalize Installation
Review your settings and click the Install button. In just a few seconds, your script will be ready to use. You will be provided with the Admin URL, where you can log in and manage the script.
Post-Installation Management
After installation, manage your scripts in the Installed Applications section. You can easily view details, access the file manager, and change templates.
Tags: 1-click web apps installer, admin area, admin credentials, admin panel, admin password., Applications Installer, automatic database, backup, blog installation, content management, Control Panel, database creation, discussion boards, domain setup, file manager, image galleries, install button, installed applications, manage script, script installation, script settings, set template, website URL
